Enterprise Recon 2.10.0
Add Targets
To add a Target to a scan:
- Log in to the ER2 Web Console.
- Go to the New Scan page by clicking on:
- Scans > New Scan, or
- the New Scan button in the Dashboard, Targets or Scans > Schedule Manager page.
- On the Select Locations page, you can:
- Select a Target type. See the individual pages under Target Type for detailed instructions.
- (Optional) Edit the Target location to change the Target location path. See Edit Target Location Path.
- Click Next to continue scheduling the scan.
Target Type
You can add the following Target types:
- Server Targets
- Cloud Targets
Select Locations
Add an Existing Target
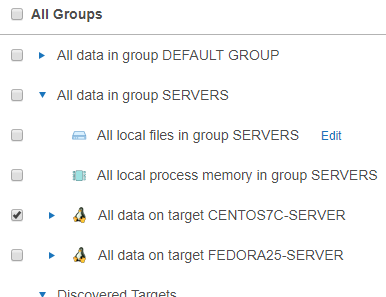
Targets that have been previously added are listed in the Select Locations page.
Adding an existing Target will take its previously defined settings and add them to the scan.

To add a previously unlisted location to an existing Target, click + Add New Location.

Add a Discovered Target
New Targets found through Network Discovery are listed here.

Add an Unlisted Target
Click + Add Unlisted Target to add a Target that is not listed, and enter the Target host name. See the pages under Target Type for instructions.

Edit Target Location Path
After adding a Target location and before starting a scan on it, you can change the path of the Target location in Select Locations.
To edit a Target location path:
- Add a Target to the scan.
- At Select Locations, locate the Target on the list of available Target locations. Click Edit.

- Edit the Path field. See respective pages in Target Type on the path syntax each Target type.

- Click + Add customised.